Use the Digital Workspace to assign Security Marks to files and folders. Doing this limits their accessibility from users that do not have the correct user rights.
-
Sign into the Digital Workspace.
-
Right click on the file or folder you want to add Security Marks to and select Security Marks.
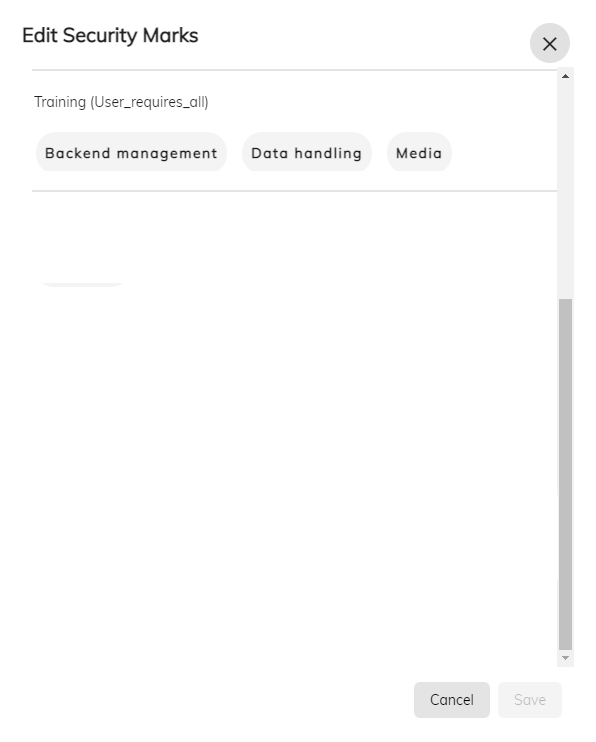
You will see all the Security Marks that are available.
-
Select which Security Marks you want assigned to the file or folder and click Save.
Once you have saved the Security Marks for the file or folder the ones you have selected will be visible in the Security Marks column.
Note: If you have more than can be displayed in the column you can click the Display all button.
See the Security Controls section of the Content Services - Control Center documentation for more details.