Support for Salesforce Community allows external Salesforce Community Members to store and access documents in Alfresco. To provide access and share documents with external Salesforce Community Members, internal Salesforce users need to perform a series of actions.
Before you begin, ensure your internal Salesforce users have been added to the GROUP_SALESFORCE_MODERATORS group in Alfresco Content Services, for more see Configure Salesforce Community.
This documentation describes a Salesforce Case object, however any standard or custom object can be shared externally with Community Members.
Note: Support for Salesforce Community is only available when using Alfresco Cloud (PaaS).
Lightning Experience
Share content externally to Community Members Lightning Experience
-
Log in to Salesforce.
-
Log in as an administrator to Alfresco Share in the Canvas app.

-
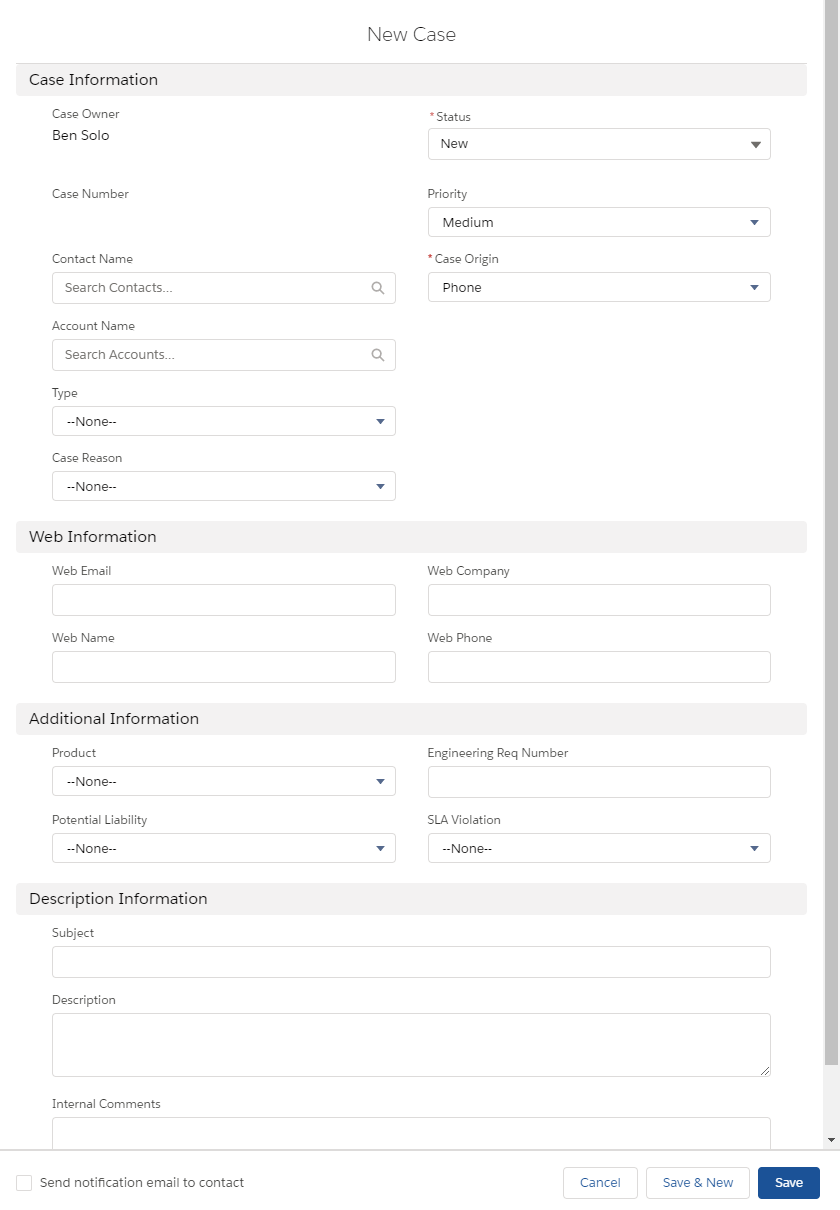
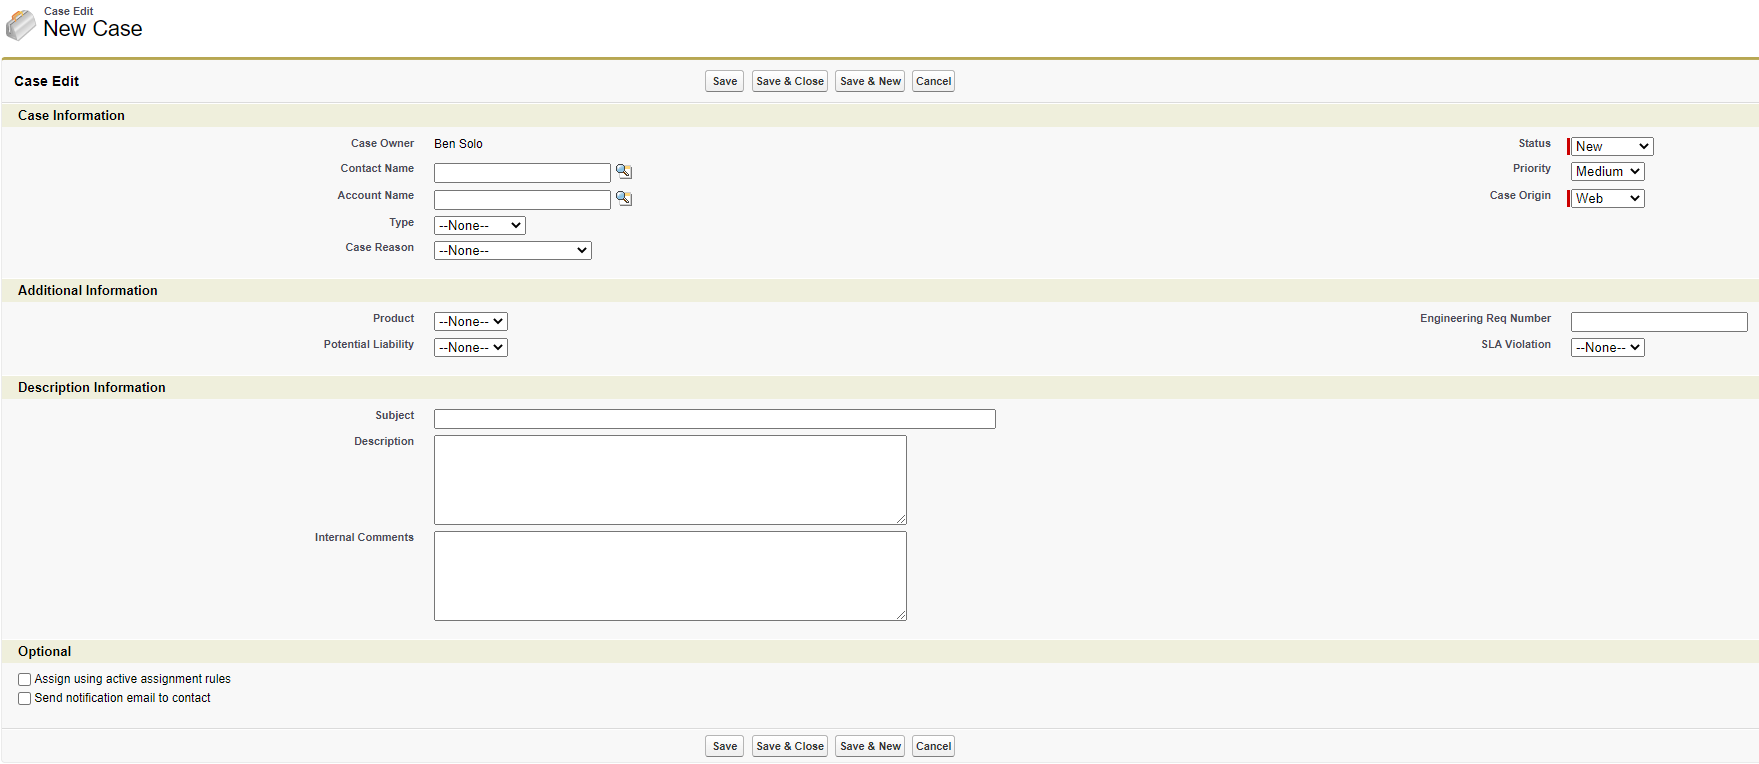
Click the down arrow next to Cases and then New Case.

-
Select the required Case Origin and any other information needed for the case. Click Save.
-
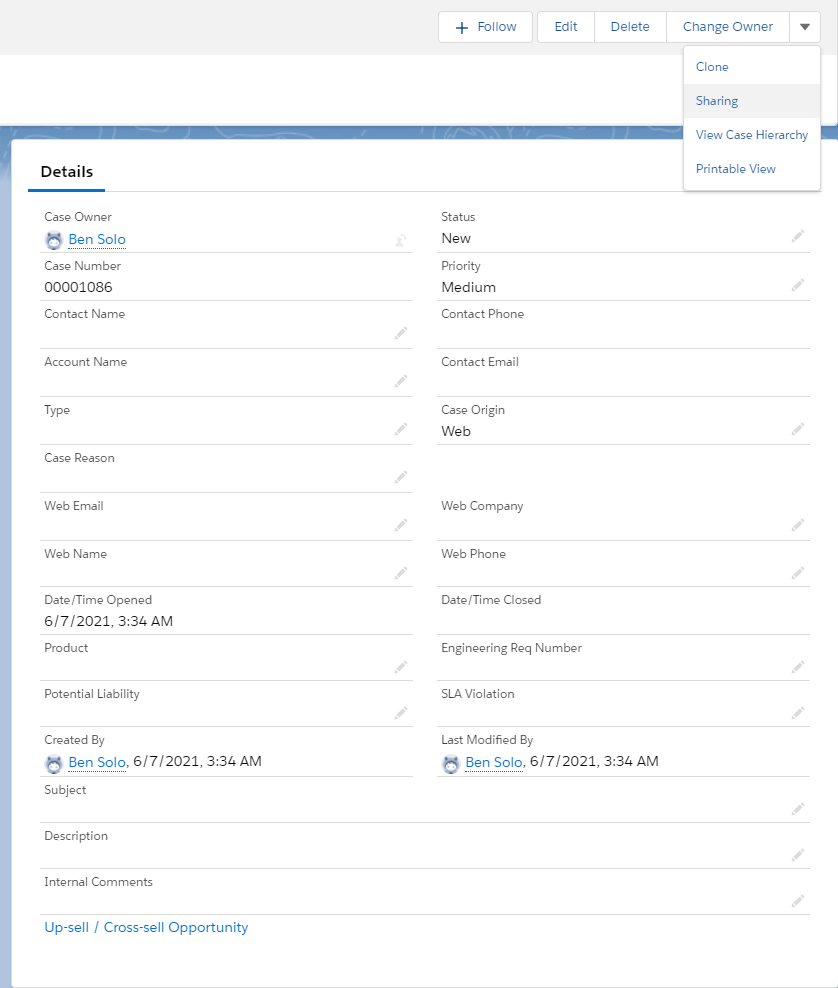
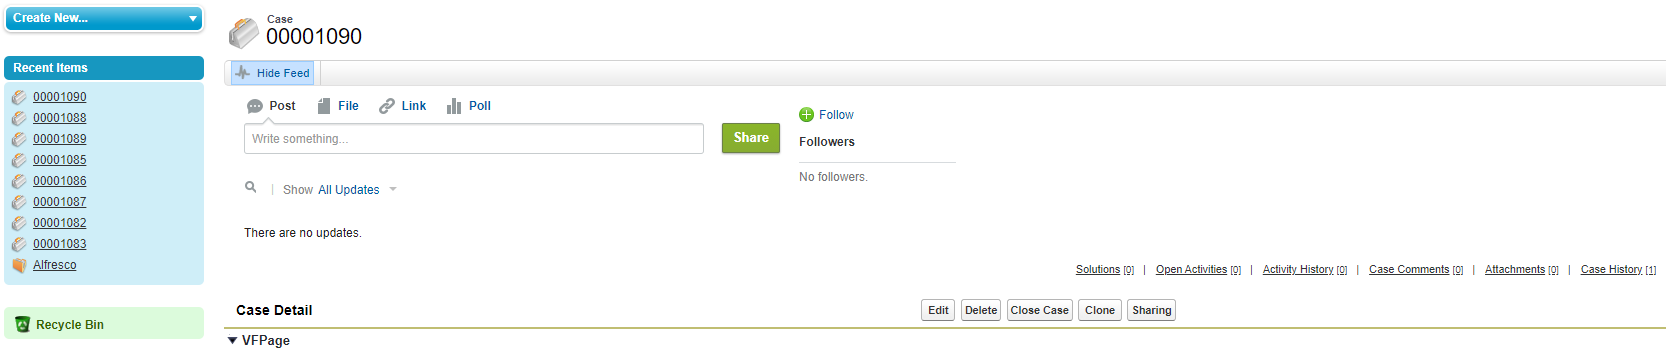
Click the drop down arrow next to Change Owner and select Sharing.
-
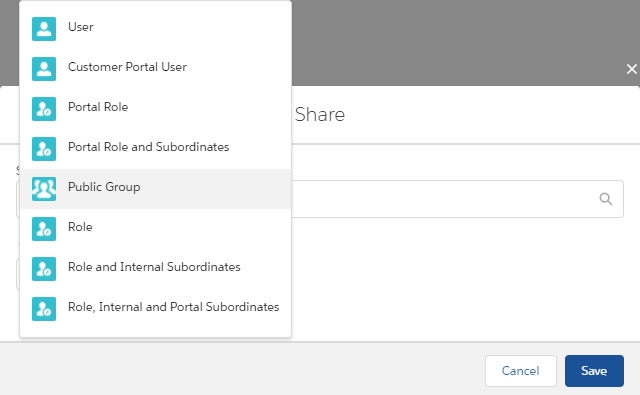
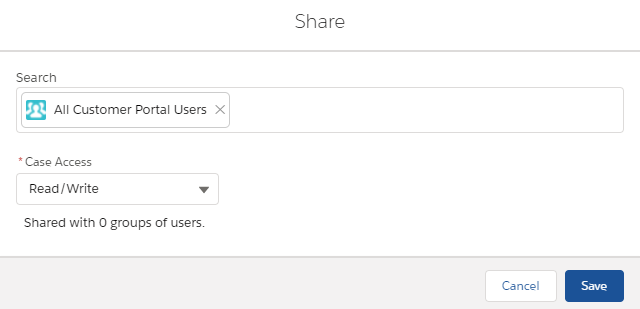
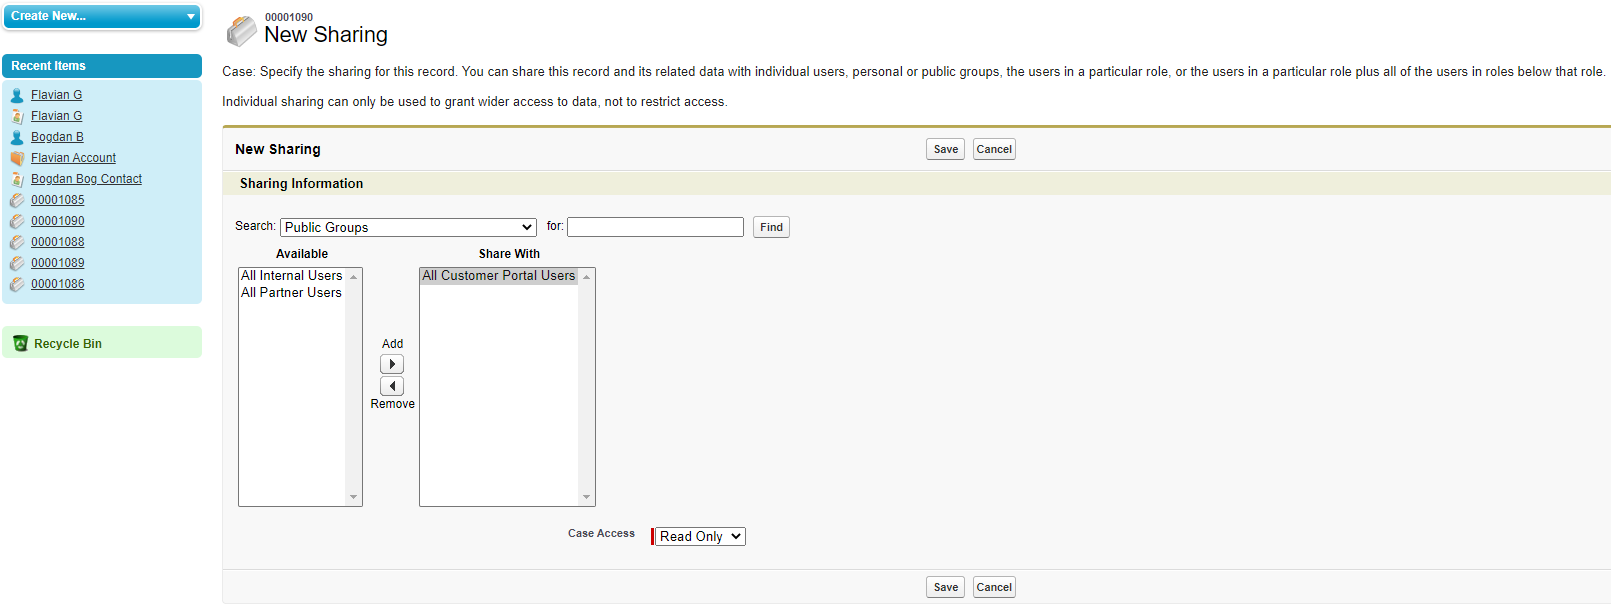
Click the drop down arrow in the search bar and select Public Group.
-
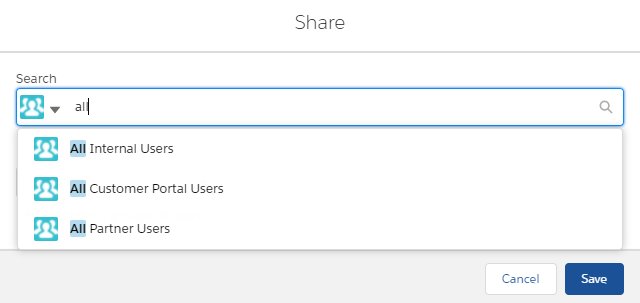
Type all into the search field and select All Customer Portal Users.
-
Click the Case Access field and select the type of access required for this case. Click Save.
-
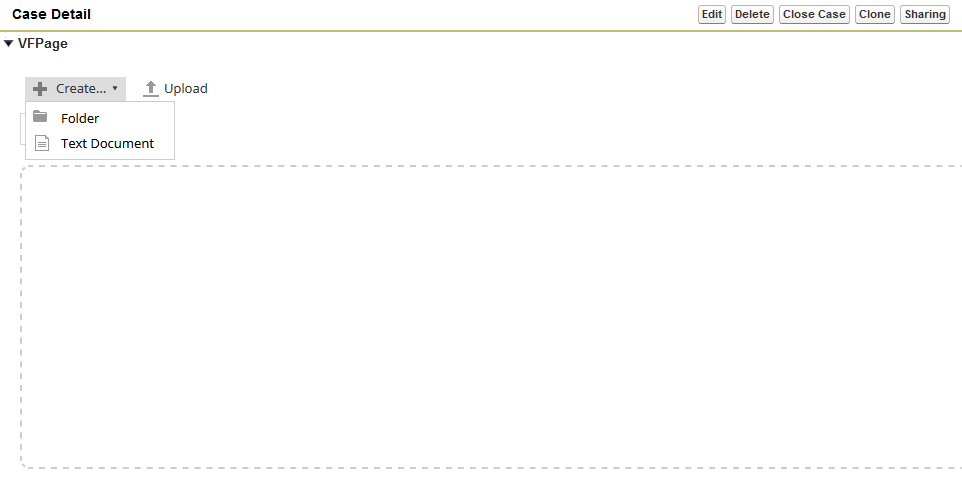
Click the Create drop down list and select Folder.
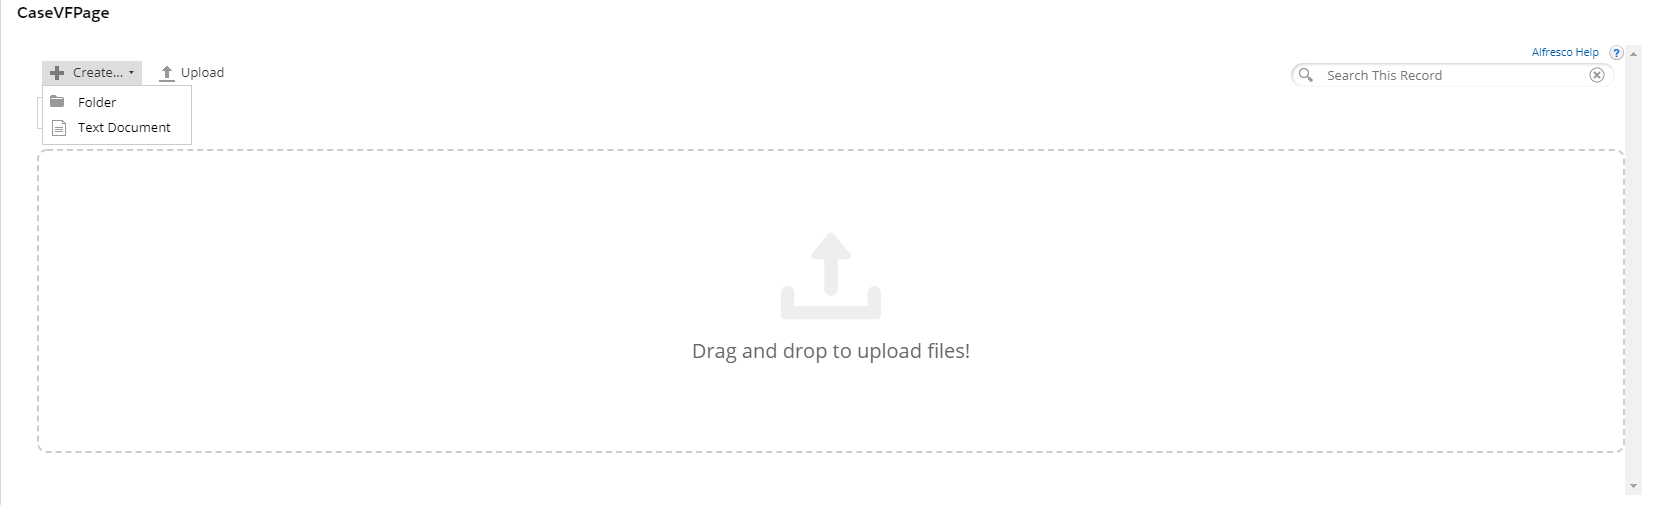
-
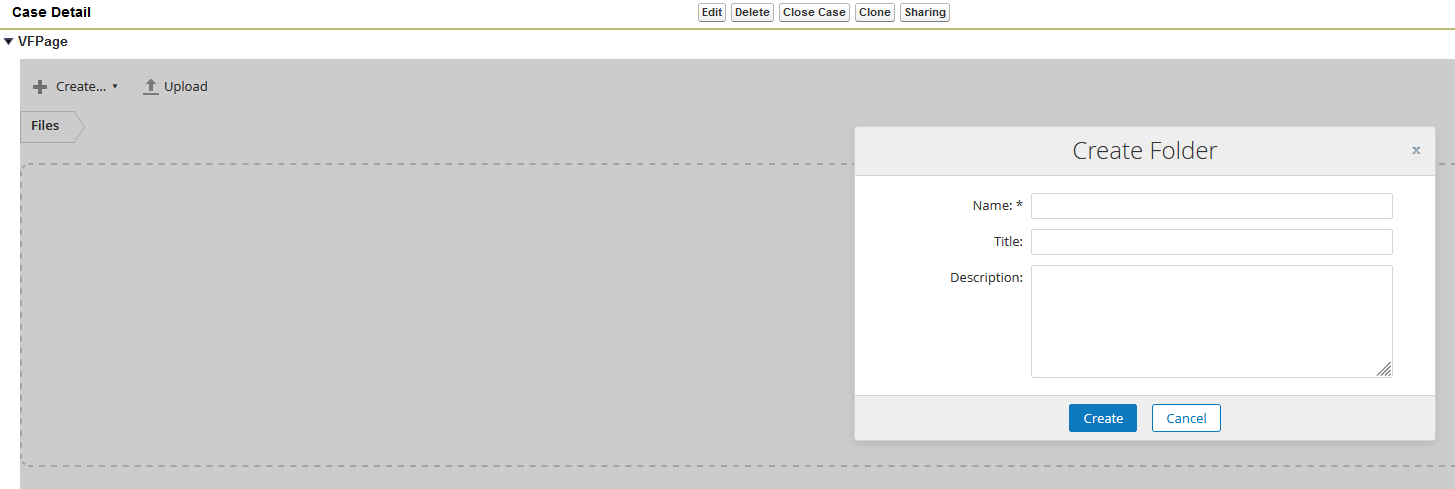
Enter the details you require for your new folder and then click Create.

-
Click the Actions drop down list and select Share Externally.

-
Select the Salesforce Community Name you would like to share with and the Users. Click Save.
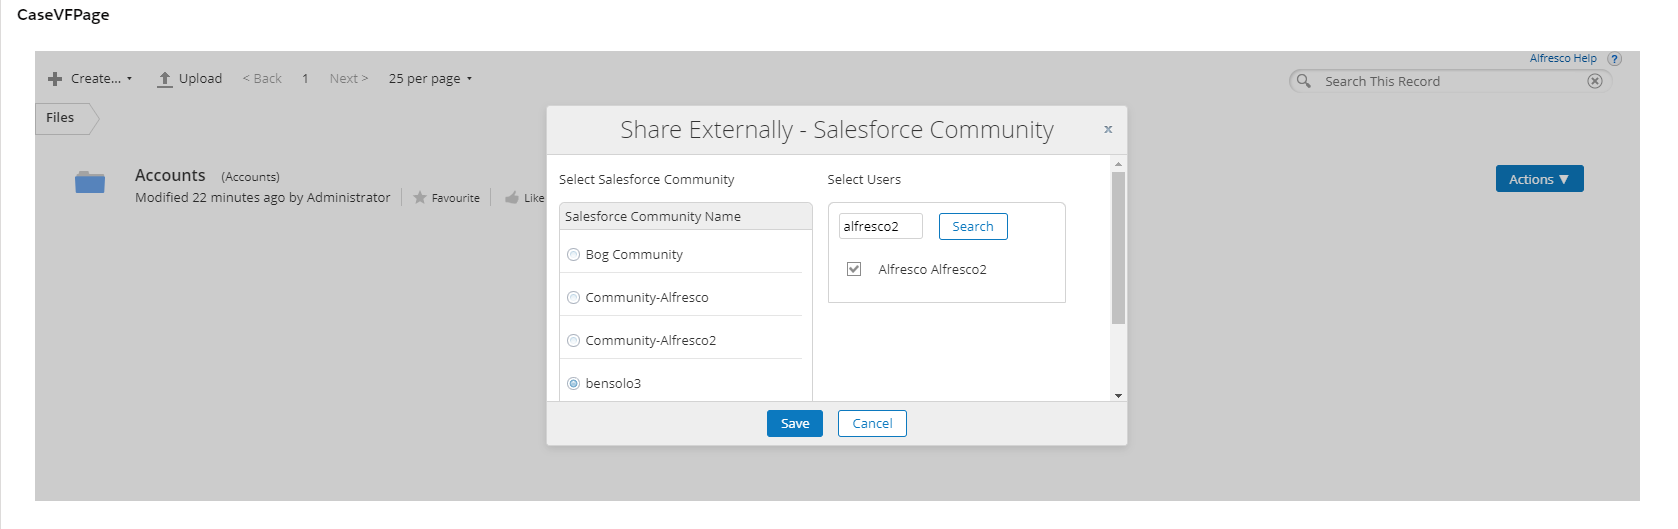
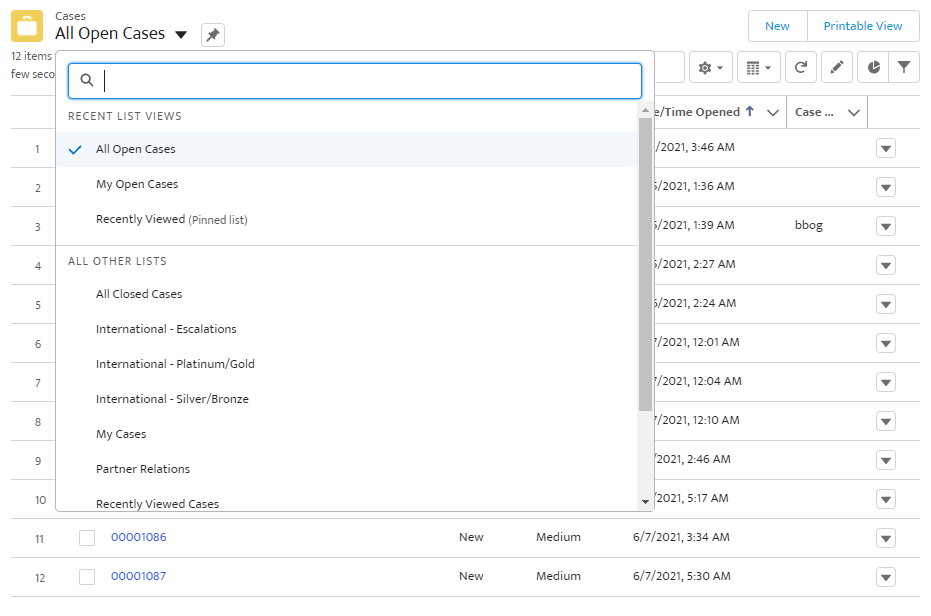
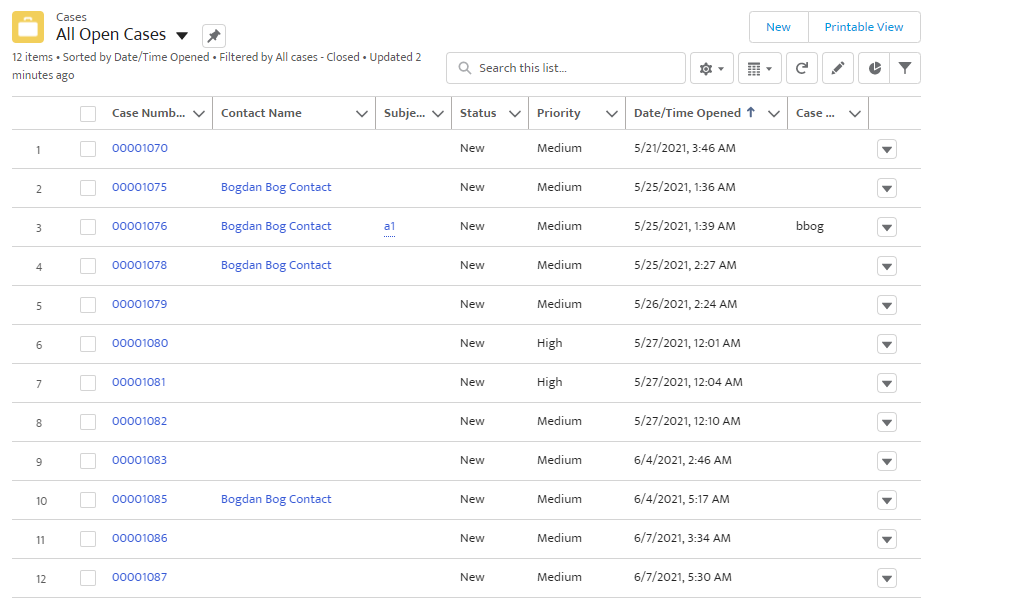
You will see a Salesforce Community Member Access message. The result of the performed actions is that when the Community Member logs into Salesforce they will see the case in their All Open Cases list.
Salesforce Classic
Share content externally to Community Members Salesforce Classic
-
Log in to Salesforce.
-
Click Alfresco Repository and Log in as an administrator to Alfresco Share in the Canvas app.
-
Click Cases and click the Create New drop down list and then select Case.
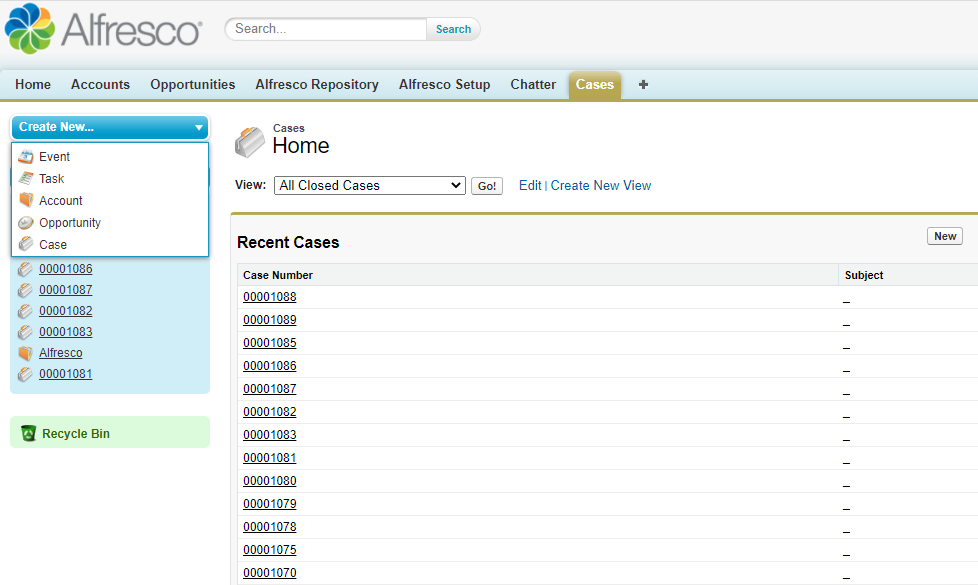
-
Select the required Case Origin and any other information needed for the case. Click Save.
-
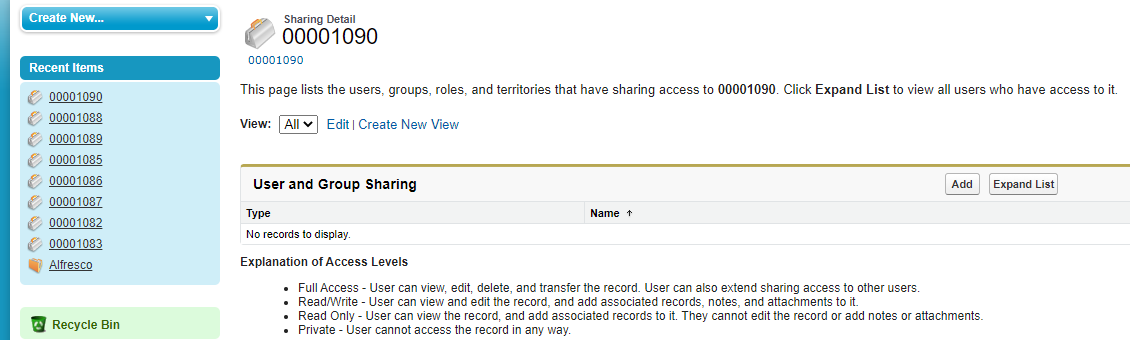
Click the Sharing button above the case.
-
Click the Add button.
-
Search Public Groups and add All Customer Portal Users to the Share With column. Click Save.
-
Click the Create drop down list and select Folder.
-
Enter a name for the folder and click Create.
-
Click the Actions button and select Share Externally.

-
Select the Salesforce Community Name you would like to share with and the Users. Click Save.
You will see a Salesforce Community Member Access message. The result of the performed actions is that when the Community Member logs into Salesforce they will see the case in their All Open Cases list.
Community Member accessing shared content
-
Log in to Salesforce Community.
-
Click the My Open Cases drop down list and then select All Open Cases.
-
Click the link of the case number that has been shared with you to open it.
-
Log in as a Community Member to access the case and documents linked to the case.
Community Members can download and view documents linked to the case. They can also upload documents to the case that will get stored in Alfresco.
Community Visualforce Page Configuration and Setup
To expose the connector in a Salesforce Community (Digital Workspace) we need to add a visualforce page for the connector. Visualforce Page must be added to your Salesforce organization using the following template:
<apex:page docType="html-5.0" standardController="<Object API Name>">
 <apex:canvasApp id="AlfrescoConnector" applicationName="<Connected APP API Name>" width="100%" height="450px" scrolling="auto" parameters="{'community':'simple'}"/>
</apex:page>
The connector is tied to a Standard or Custom Salesforce object.
Insert your Object API Name as the value of the standardController attribute. For Example : Case or Opportunity
The id attribute is required and can be set to any non-empty, non-null value.
The applicationName attribute must be set to the API Name of the connected app created for the connector during the initial setup.
The width, height, and scrolling attributes can be set to values that meet the use case.
The most important attribute is the parameters attribute. The value must be set to {'community':'simple'}.Without this value, the connector will surface the standard connector view.
The Visualforce page will need to have the appropriate profiles added for it to be visible to the correct community users.
Example 1:
<apex:page docType="html-5.0" standardController="Case">
  <apex:canvasApp id="AlfCanvas3" applicationName="ACS_Salesforce" width="100%" height="450px" scrolling="auto" parameters="{'community':'simple'}"/>
</apex:page>
Add the new Visualforce Page to the desired record detail in your Salesforce Community.