Alfresco Digital Workspace settings are in the following file ../digital-workspace/app.config.json. You can use the file to tailor Alfresco Digital Workspace easily and without making any code changes. The file can be updated while Alfresco Digital Workspace is still running and users will see the changes once their pages are reloaded.
For more in-depth documentation about how to configure Digital Workspace, see Application features.
The following settings can be configured in ../digital-workspace/app.config.json.
| Property/Sub-property | Description | |
|---|---|---|
| adf-start-process/name | The name of the process as it appears in Alfresco Process Services including the current days date and time. The default setting for this is %{processDefinition} - %{datetime}, which will produce, ‘Capital Approval Process - Jun 17, 2020, 11:02:07 AM’. | |
| adf-start-process/processDefinitionName | The name of the definition of the process you are using to create an instance, for example Capital Approval Process definition. |
|
| adf-versions-manager/allowComments | Toggle version comments on/off. | |
| aosHost | Server address of the AOS endpoint, for example https://repository.domain.com/alfresco/aos. Note: Server address has to be https. |
|
| application/name | Application name that will be shown in the header of the application and in the page/tab title, for example Digital Workspace |
|
| application/copyright | Copyright text shown on the login page, for example © 2017 - 2020 Alfresco Software, Inc. All rights reserved. |
|
| application/logo | Path to the logo shown in the application header for example, assets/images/alfresco-logo-flower.svg |
|
| authtype | Determines the type of authentication. To use Single Sign-on mode you must change this property to OAuth, for example basic. See Single Sign-On (SSO). |
|
| bpmHost | Server address of Alfresco Process Services, for example https://processservices.domain.com:port |
|
| content-metadata/presets | Add custom aspects and properties to be shown in the information drawer. | |
| content-metadata/custom | Add custom aspects and properties to be shown in the information drawer. | |
| ecmHost | Server address of Alfresco Content Services, for example https://repository.domain.com:port |
|
| files/excluded | Restrict users from uploading certain types of files and folders by setting or extending the list of rules at the “files.excluded” path for example, “.DS_Store”, “desktop.ini”, “Thumbs.db”, “.git” | |
| files/match-options, no case | Ensures that the exclusions are case insensitive, for example true. |
|
| files/allowDownload | Toggle downloads of versions on/off, true or false. |
|
| headerColor | Value for the header background color of the application, for example #2196F3 |
|
| languagePicker | Enable manual language selection menu, true or false. |
|
| languages/key | Key for language picker menu options, for example en |
|
| languages/label | Label to display in the language picker menu, for example, English |
|
| pagination/size | Set the default number of items to be displayed on a page, for example 25 |
|
| pagination/supportedPageSizes | Change the items available in the pagination control, for example 25, 50, 100. |
|
| processService | Toggles the Alfresco Process Services plugin to be on/off, "true" or "false". Note: You must include the quotation marks. |
|
| search/include | Specify the node information returned by the API with the search results set. | |
| search/sortng | Search result sorting options available, and which option is the default. | |
| search/filterqueries | Specify what content should, and shouldn’t be returned in the results set. | |
| search/facetFields | Allows the configuration of the search results filter options. | |
| search/facetQueries | Allows the configuration of the search results filter options. | |
| search/categories | Allows the configuration of the search results filter options. | |
| search/aca:fields | Specify the metadata fields that will be included in search queries. | |
| sidenav/preserveState | Remember the users choice of sidenav minimized or expanded, true or false. |
|
| sideNav/expandedSidenav | Side navigation expanded by default, true or false. |
|
| viewer.maxRetries | The preview mechanism used to view a file tries to open it and if its unsuccessful it waits 20 seconds and then tries again. The process involves converting the file (multiple file formats are supported depending on content type) and if it takes more than 20 seconds the system will say that the content isn’t supported. This time out can be increased by adding a value for this property. If you enter 2 the wait time before time out will be 40 seconds | |
| viewer.enableFileAutoDownload | Specify if a large file is automatically downloaded. Use either true or false. |
|
| viewer.enableDownloadPrompt | Specify if the Digital Workspace user is prompted before downloading a large file. The default is true. |
|
| viewer.downloadPromptDelay | In seconds, specify the amount of time to delay a prompt to the Digital Workspace user, before displaying a download large file message. The default is 50. |
|
| viewer.enableDownloadPromptReminder | Specify if the Digital Workspace user is prompted with a reminder, before downloading a large file. The default is true. |
|
| viewer.downloadPromptReminderDelay | In seconds, specify the amount of time to delay a reminder prompt, to the Digital Workspace user, before displaying another download large file message. The default is 30. |
|
| viewer.fileAutoDownloadSizeThresholdInMB | In megabytes, specify the largest file size a file can be, before the Digital Workspace does not download it automatically. The default is 15. |
Dynamic view
You can edit the columns you want to see in any of the file views in the Digital Workspace. This configuration applies to the view you are in and any additional pagination part of that view. Currently the selection reverts back to the original view, once you click away.
-
Log in to the Digital Workspace.
-
In the view you want to adjust, select the three dots on the top right.
-
Deselect the columns you don’t want to see in the view and then click Apply.
The columns are no longer visible in the view.
Drag and drop
You can manually edit the position of the columns in any of the file views in Digital Workspace. To do so, complete the following steps.
-
Log in to the Digital Workspace.
-
In the view you want to adjust, drag and drop the columns to your desired position.
Note:
- A column can be dragged to a different position if the
draggableparameter of the column is set totruein the Config file. - The position does not revert back to the original view, once you click away.
- A column can be dragged to a different position if the
Configure default columns
A system administrator can use the app.extension.json file to configure which columns are visible by default. If the file is not adjusted all the columns will show by default.
-
Open your
../digital-workspace/app.extension.jsonfile. -
Add
"isHidden": trueto any of the columns of thefiles,libraries, ortrashcansections of the file, and then save it. For example, to hide therolecolumn in thelibrariessection:{ "id": "app.libraries.role", "key": "role", "title": "APP.DOCUMENT_LIST.COLUMNS.ROLE", "type": "text", "class": "adf-no-grow-cell", "sortable": true, "template": "app.columns.libraryRole", "desktopOnly": false, "isHidden": true, "order": 40 },The
rolecolumn no longer displays by default.
Permissions
Permissions for folders and files in the Digital Workspace can be assigned and viewed easily. To view the permissions of a folder or file in the Digital Workspace, select the file or folder, right click it, and select Permissions. You are presented with the Permissions tab.
The type of permissions a user or group has for a file is determined by what role they have.
For more information on roles see User roles and permissions
Setting permissions
Setting permissions for folders and files allows you to manage what type of access a user has for a folder or file. From within the Permissions tab you can assign a user or a group to have a specific type of access based on what role you assign them.
Note: You can also delete permissions from here by using the Bin icon next to the user or group that has permissions assigned to it.
-
From within the permissions tab use the Add icon to add a user or group.
-
Search for the user or group you want to assign access to your folder or file and then click SELECT.
-
Select the role you want to assign to the user or group and then click ADD.
If you are assigning a role to a group you can select a different role for the administrator of that group than for the rest of the users in the group.
-
(Optional) Use the slider to allow the added users or groups to inherit the permissions from the parent folder.
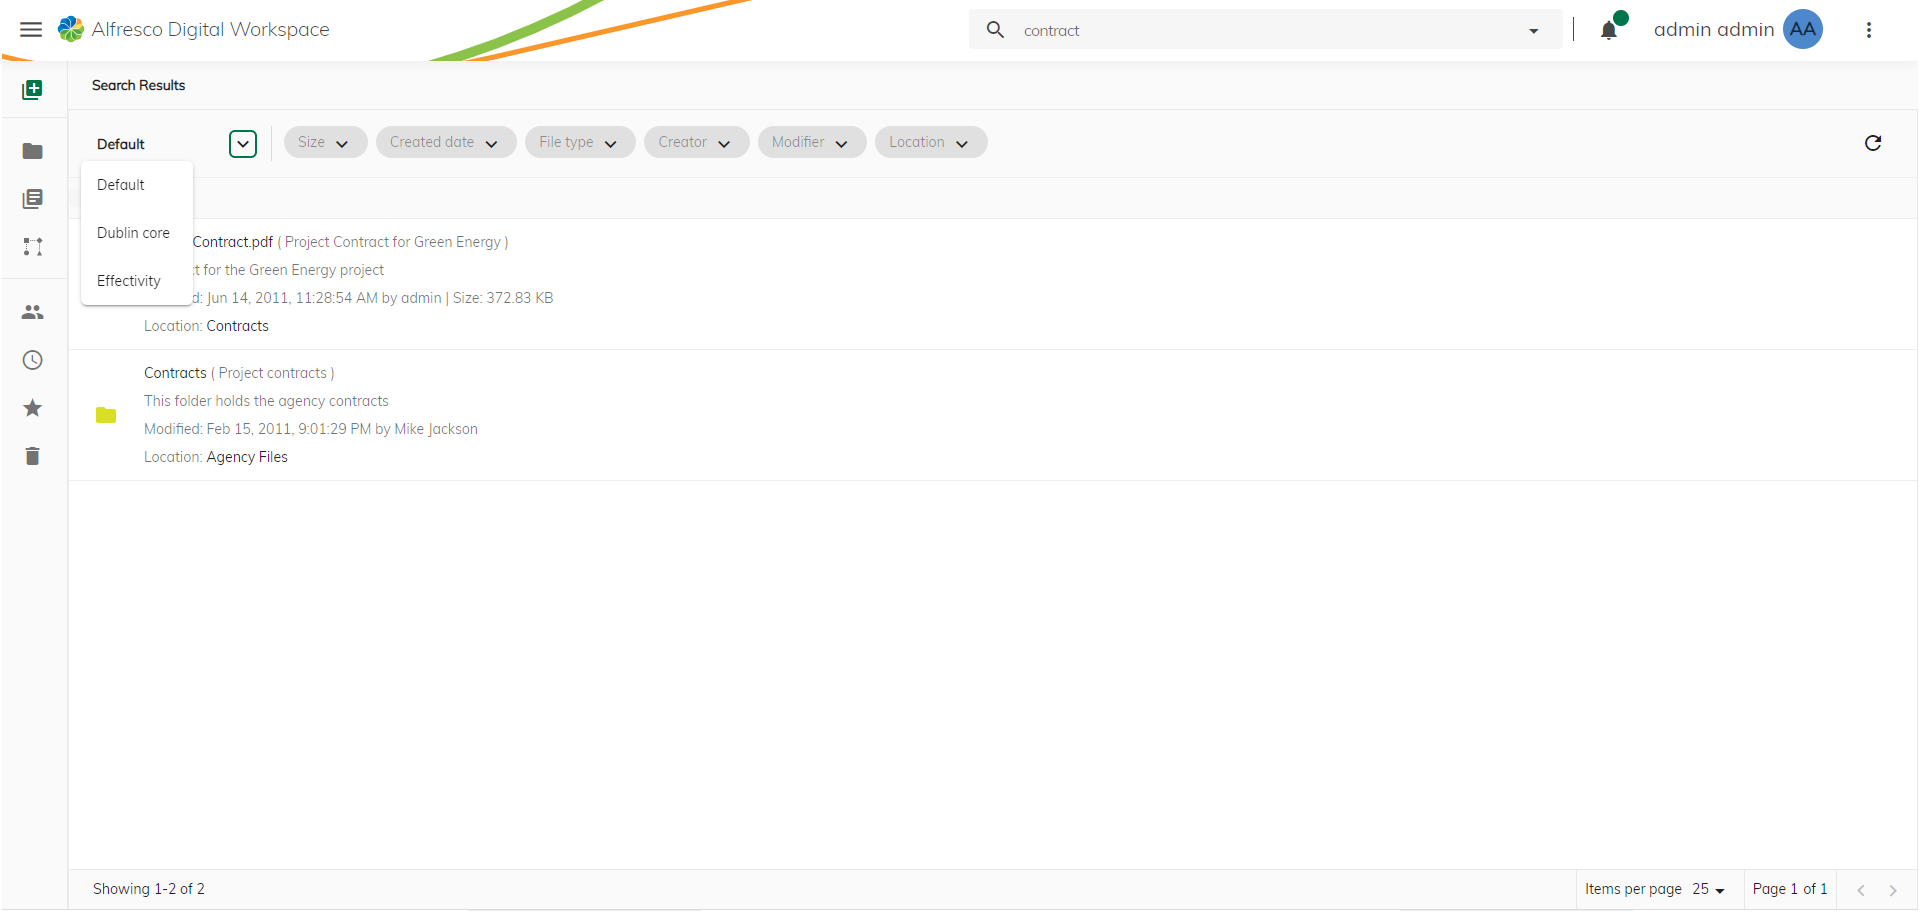
Search
The default search capability in the Digital Workspace contains six filters that can be used to refine the searches you make against your content. You can use the search filters in conjunction with each other to help further refine your results. The contents of the filters can be configured to suit your needs and can be based on the metadata you have chosen to assign to your content. Dublin core and Effectivity element sets have additionally been provided for you to use to help filter your content, if you are using those standard classification types. They can be selected under the Filter Set heading.
Search filters
Use the Logic filter to match or exclude words, and phrases. Use the Properties filter to limit, exclude, or exactly match files of a certain size. You can also filter by file type. Use the Date filter to find files created or modified within specific time periods. Use the Location filter to include locations of where you would like to focus your search results, for example Europe, or Marketing. Use the Tags filter to include content that has been tagged, for more see Tags. Use the Categories filter to include content that has been categorized, for more see Categories.

Search configuration
The search filters that are available in the Digital Workspace can be refined and tailored to your specific needs by creating custom search forms. Each form can contain a set of filters that are relevant to a particular task or user group within your organization. You can select the most useful search form from the drop-down lists on the search results page. For details on how to create and configure search forms for a more intuitive search experience, see the Search Configuration Guide.