This page provides information about the Alfresco ReST API Explorer, how to install it and use it.
The Alfresco ReST API v1 is described in the OpenAPI specification format (formerly Swagger specification). This is good as lots of different tools can read this format, and you can also use the specification to generate ReST API clients in different languages, such as Java.
Alfresco uses the Alfresco ReST API OpenAPI specification to provide an API Explorer, so you can easily read about all the APIs and try them out. The API Explorer comes in the format of a WAR file that needs to be installed (dropped) into your ACS installation.
If you just want to have a look at the latest API Explorer, then you can use an online version of it available here: https://api-explorer.alfresco.com/api-explorer/
Installing
Note: if you are running Alfresco from a Docker Compose file, then the API Explorer is most likely already available. Check by accessing
http://localhost:8080/api-explorer
Most likely you would want to install the API Explorer into your local ACS installation. You can find the Alfresco API Explorer WAR file in Alfresco’s Nexus repository by searching for “api-explorer” on the Nexus Repository website available at https://nexus.alfresco.com/nexus/. Pick the version that closest matches your ACS installation.
To install the WAR file follow one of two approaches. If you are using a trial version of ACS then you follow the first approach described below. If you are using the Alfresco SDK you would want to follow the second approach. The main difference between the two is that the first one will lead to loss of the data that you are working with as the ACS trial Docker Compose file does not use volumes (i.e. it does not store data externally but instead inside the container).
Installing the WAR file into an ACS Trial environment
IMPORTANT! you will lose your data/content when you do this)
-
Create a directory somewhere for Repository extension files and copy the War file there
Now, copy the WAR file, for example
api-explorer-7.0.0.warinto this new directory. Then rename the file toapi-explorer.war. -
Create a
Dockerfilefor the new custom Repository Docker ImageAs a developer you are most likely running ACS 6.x via a Docker Compose file, either via trial or SDK. The
Dockerfilewill be based on the Repository Image that is used in thedocker-compose.xmlfile. Have a look in it and you should see that it starts with defining the Alfresco Repository Docker image:version: "2" services: alfresco: image: alfresco/alfresco-content-repository:7.0.0 ...With this information we know what Docker Image to base our custom Repo Docker Image on. Create a
Dockerfilein the same directory as the WAR file and have it look like this:FROM alfresco/alfresco-content-repository:7.0.0 ARG TOMCAT_DIR=/usr/local/tomcat # Copy the ReST API Explorer into the Tomcat Webapps directory COPY api-explorer.war $TOMCAT_DIR/webapps/What this
Dockerfilewill do is build a custom Repository Docker image that is based on the out-of-the-box Alfresco Repository Docker image that you are using. It will then copy in theapi-explorer.warinto thetomcat/webappsdirectory where it will be picked up and deployed. -
Build the custom Alfresco Repository Docker image
When we got the Dockerfile completed we just need to build the custom Docker image as follows, standing in the directory with all the files:
repo mbergljung$ docker build -t alf-repo-custom:1.0 .
Sending build context to Docker daemon  954.4kB
Step 1/3 : FROM alfresco/alfresco-content-repository:7.0.0
 ---> 5439a493ee0a
Step 2/3 : ARG TOMCAT_DIR=/usr/local/tomcat
 ---> Using cache
 ---> cf2a1261adf4
Step 3/3 : COPY api-explorer.war $TOMCAT_DIR/webapps/
 ---> Using cache
 ---> 52f10e1f00d6
Successfully built 1766782c545a
Successfully tagged alf-repo-custom:1.0
Check that you got the custom Docker image:
repo mbergljung$ docker image ls |grep alf- alf-repo-custom 1.0 1766782c545a About a minute ago 1.16GB -
Update the
docker-compose.xmlfile to use the new custom imageOpen up the
docker-compose.xmlfile and change it so the Repository service is based on the custom Docker Image we just created. It should now look something like this:version: "2" services: alfresco: image: alf-repo-custom:1.0 ... -
Restart ACS
We have made changes only to the Repository container, also known as the alfresco Docker Compose service, but we need to remove and restart all containers so data is in sync (basically we are starting over with an empty repository). After we have created our own Docker Image for the Alfresco Repository container and configured Docker Compose with it we can restart as follows by doing Ctrl-C out of the log, this will stop all containers, we then remove them, followed by starting it up again:
^CGracefully stopping... (press Ctrl+C again to force)
Stopping acs62_alfresco-pdf-renderer_1 ... done
...

acs61 mbergljung$ docker-compose rm
Going to remove acs62_alfresco-pdf-renderer_1, acs62_transform-router_1, acs62_libreoffice_1, acs62_tika_1, acs62_imagemagick_1, acs62_proxy_1, acs62_share_1, acs62_postgres_1, acs62_digital-workspace_1, acs62_alfresco_1, acs62_activemq_1, acs62_solr6_1, acs62_shared-file-store_1
Are you sure? [yN] y
Removing acs62_alfresco-pdf-renderer_1 ... done
...

acs61 mbergljung$ docker-compose up
Creating acs62_alfresco-pdf-renderer_1 ... done
...
Installing the WAR file into an Alfresco SDK AIO project
-
Copy API Explorer WAR file into the SDK project
Copy the
api-explorer-7.0.0.warinto theaio/aio-platform-docker/src/main/dockerAIO SDK directory. Then rename the file toapi-explorer.war. -
Open up the platform/repository Docker file and add the command to copy the
api-explorer.warintotomcat/webappsThe platform (repository)
Dockerfileis located in theaio/aio-platform-docker/src/main/dockerAIO SDK directory. Add the following COPY command at the end of this file:... # Copy the ReST API Explorer into the Tomcat Webapps directory COPY api-explorer.war $TOMCAT_DIR/webapps/What this Dockerfile will do is build a custom Repository Docker image that is based on the out-of-the-box Alfresco Repository Docker image that you are using. After it has copied in all the extensions, config files, license etc it will finish by copying in the
api-explorer.warinto thetomcat/webappsdirectory where it will be picked up and deployed. -
Restart the platform/repository container
We have changed only the platform/repository, so it is enough to just restart this container:
acs61-aio mbergljung$ ./run.sh reload_acs
Killing docker_acs62-aio-acs_1 ... done
Going to remove docker_acs61-aio-acs_1
Removing docker_acs62-aio-acs_1 ... done
...
Note. this does not remove any content or metadata.
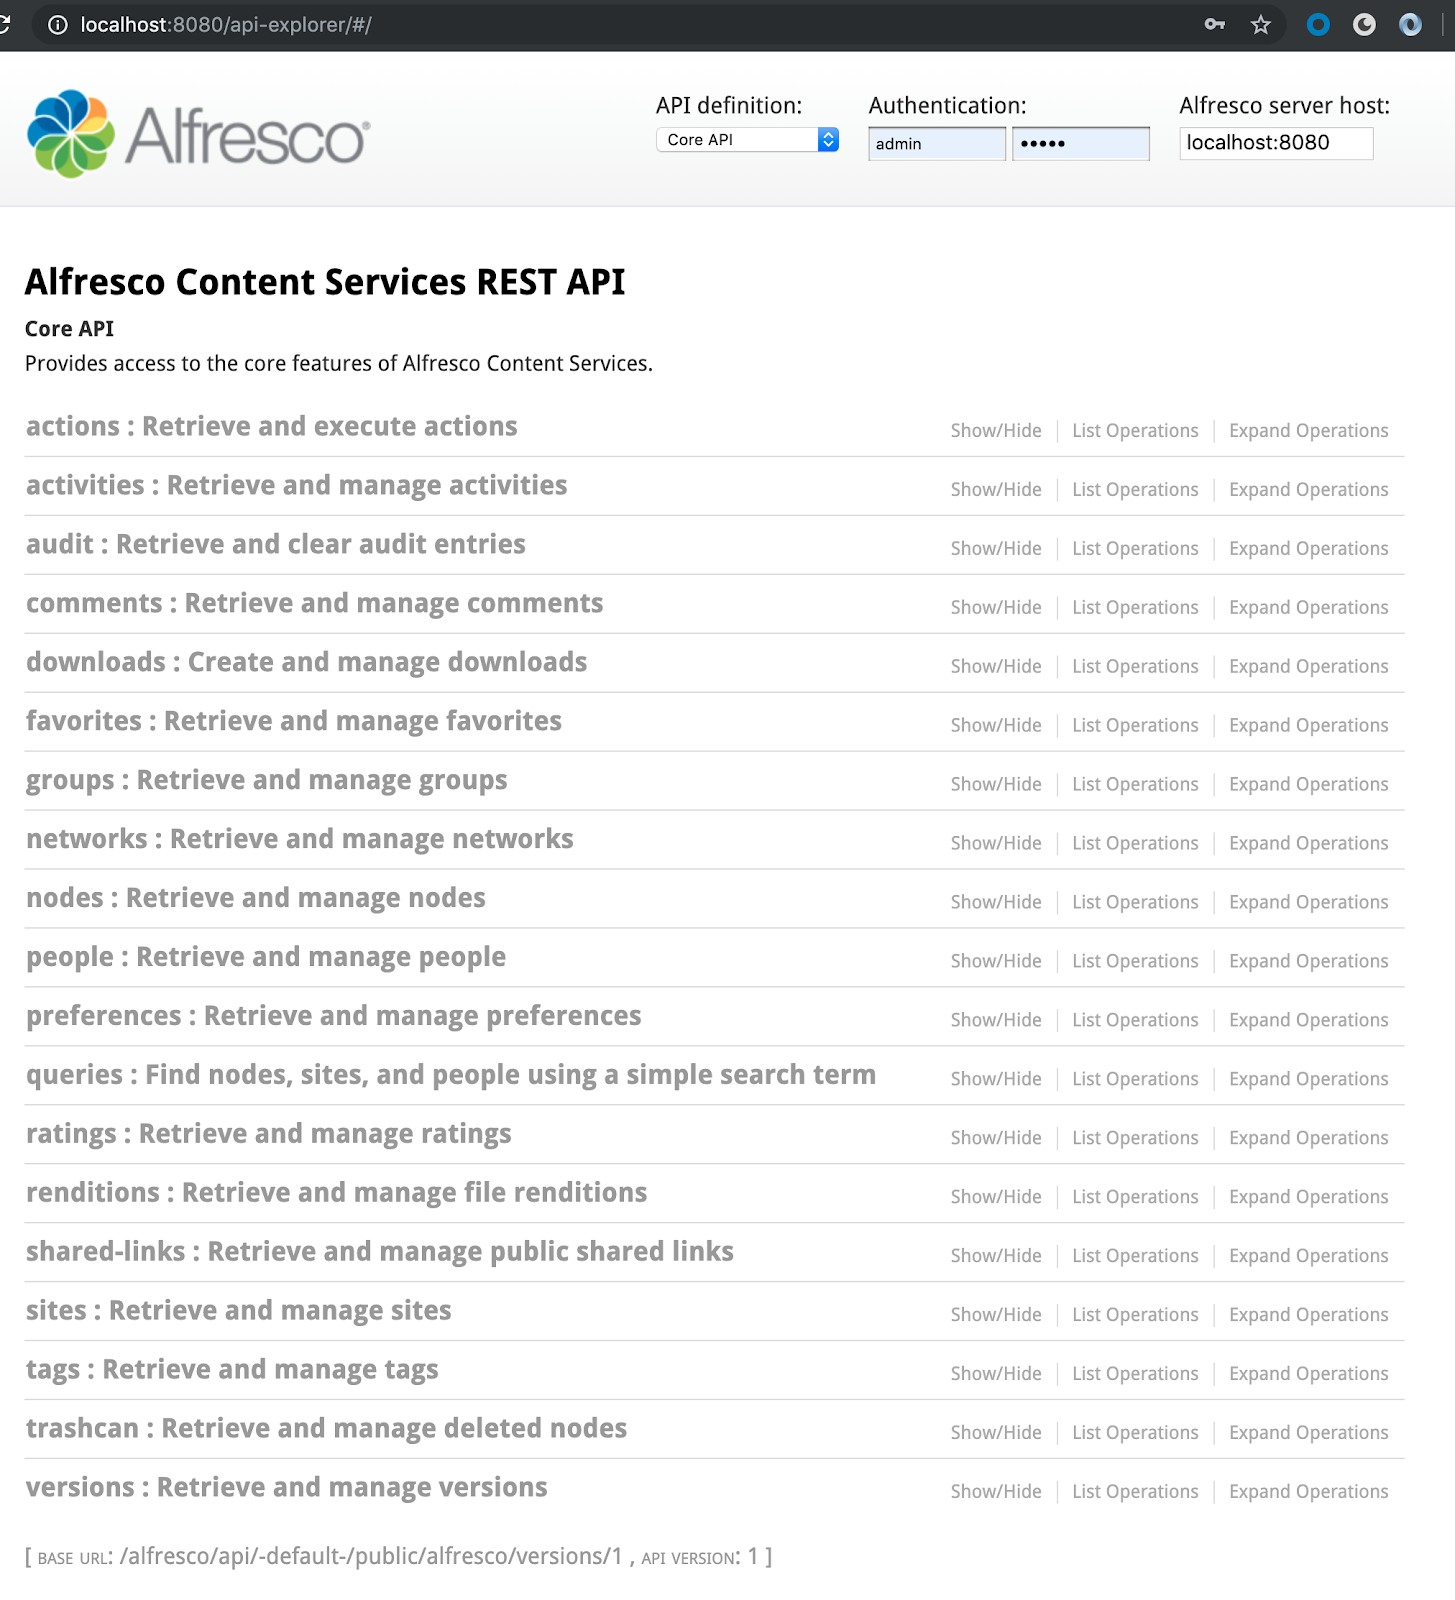
Accessing the API Explorer
You should now be able to access the API Explorer at http://localhost:8080/api-explorer:
Getting started
You make API requests by sending a URL using one of five HTTP API methods, GET, POST, PUT, DELETE, and OPTIONS. Here’s an example of a URL to get all sites in a local Alfresco installation:
http://localhost:8080/alfresco/api/-default-/public/alfresco/versions/1/sites
You can use the ReST API Explorer to make this request:
- In your web browser, navigate to
[http://localhost:8080/api-explorer/#!/sites/listSites](http://localhost:8080/api-explorer/#!/sites/listSites). You’ll see full documentation for the GET /sites API method, including the query and body parameter formats, and the expected and error response schemas. - At the end of the description you’ll see the Try it out! button. Press it now.
You’ve just made your first Alfresco ReST API request. You will see the request URL you’ve just invoked, the corresponding Curl command, the JSON response body that the Alfresco repository has returned, the HTTP response code, and the response headers:

Note this call returns a list of site entries. All lists returned by the Alfresco ReST API are of this format.
Install a tool to make HTTP calls
Information about the cURL command line tool that can be used to make HTTP calls.
When we have an ACS Server up and running we also need a tool that can be used to make HTTP requests to the server. The ReST API is accessed via HTTP and returns responses in JSON. We could use a Web Browser for all API calls that require HTTP GET, but lots of API calls will need a client that can execute HTTP POST and HTTP PUT operations.
So it is best to start working with a tool that can make HTTP GET, POST, and PUT calls.
One such tool is cURL and it is commonly available on most Linux based systems. Check if you have it by doing:
$ curl
curl: try 'curl --help' or 'curl --manual' for more information
If you don’t have curl installed you can find it here: https://curl.se/
Install a tool to format JSON responses
Information about the jq command line tool that can be used to format JSON responses.
The Alfresco ReST API will return responses in JSON format. When we work with the ReST API from the command line via cURL these JSON responses will not be formatted in a way that is easily readable.
So it would be good to feed it into some utility that could format the JSON. For this we can use a tool called jq. It can be found here: https://stedolan.github.io/jq/. Install it and you should be ready to go with the rest of this section.
Authenticate with the repository
Before you can call any of the API endpoints, except a few that don’t require authentication, you need to authenticate with the repository so your operations are executed on behalf of a specific user. When you authenticate successfully a ticket is returned that can be used in subsequent calls to the API. A ticket is valid for a specific time, so if you don’t make any calls for a while, then you might get 401 errors back, which means you need to authenticate again to get a new ticket.
Authenticating to get a ticket
To authenticate with the Repository the following URL is used, and it is part of the Authentication API:
http://localhost:8080/alfresco/api/-default-/public/authentication/versions/1/tickets
When calling this URL a HTTP POST should be used with the username and password as data:
$ curl --header "Content-Type: application/json" --request POST --data '{"userId":"admin","password":"admin"}' http://localhost:8080/alfresco/api/-default-/public/authentication/versions/1/tickets
{"entry":
  {"id":  "TICKET_08eb7e2e2c17964ca51f0f33186cc2fc9d56d593",
   "userId":"admin"
  }
}
Here I’m logging in as admin with password admin, which is common for local developer/test installations of ACS. But you can use any other username/password combination that represents a user in the Alfresco User database, being it local or linked to LDAP. However, it’s good to use the admin user when you are playing around with the ReST API as you will almost always get a response back as you have full access. You don’t have to worry about the user having the correct permissions to execute the call, having access to the content, etc. A ticket is return inside a JSON object.
We can make the POST call a bit shorter as -H is short for --header and -d for --data. The -request POST
part is optional if you use -d, as the -d flag implies a POST request. So the call can also be executed as follows:
$ curl -H "Content-Type: application/json" -d '{"userId":"admin","password":"admin"}' http://localhost:8080/alfresco/api/-default-/public/authentication/versions/1/tickets | jq
{
  "entry": {
    "id": "TICKET_08eb7e2e2c17964ca51f0f33186cc2fc9d56d593",
    "userId": "admin"
  }
}
You get the same ticket back if you call the API multiple times.
Windows users
Single quotes around JSON does not work on Windows, use double quotes instead:
curl -H "Content-Type: application/json" -d "{\"userId\":\"admin\",\"password\":\"admin\"}" http://localhost:8080/alfresco/api/-default-/public/authentication/versions/1/tickets
Base64 encoding the ticket
When we have the ticket we need to base64 encode it before we can use it in subsequent calls:
On Mac and Linux
$ echo -n 'TICKET_08eb7e2e2c17964ca51f0f33186cc2fc9d56d593' | openssl base64
VElDS0VUXzA4ZWI3ZTJlMmMxNzk2NGNhNTFmMGYzMzE4NmNjMmZjOWQ1NmQ1OTM=
On Windows
powershell "[convert]::ToBase64String([Text.Encoding]::UTF8.GetBytes(\"TICKET_08eb7e2e2c17964ca51f0f33186cc2fc9d56d593\"))"
Using the ticket
Now when we got a base64 encoded ticket, such as VElDS0VUXzA4ZWI3ZTJlMmMxNzk2NGNhNTFmMGYzMzE4NmNjMmZjOWQ1NmQ1OTM=,
we can start using it in an API call. The way we use the ticket in a Curl call is to add it with the Authorization
header as follows:
curl -X GET -H 'Accept: application/json' -H 'Authorization: Basic {ticket}' '{API endpoint URL}' | jq
With an example ticket and an example API endpoint it will look like this:
curl -X GET -H 'Accept: application/json' -H 'Authorization: Basic VElDS0VUXzA4ZWI3ZTJlMmMxNzk2NGNhNTFmMGYzMzE4NmNjMmZjOWQ1NmQ1OTM=' 'http://localhost:8080/alfresco/api/discovery' | jq
This ReST API Guide contains hundreds of examples of how to use a ticket with GET, POST, PUT, and DELETE calls.