Projects are the top level component of the business process being modeled. They contain all of the logic for the models that make up the business process such as forms, processes, content models and connectors.
Some example projects are available for you to use to help you get started, for more see Example projects.
Create a project
To create a project:
-
Sign into the Modeling Application.
-
Click the NEW dropdown.
-
Select how to create the project:
-
Create Project creates a new, empty project.
-
Upload Project allows for uploading an existing project
.zipinto the Modeling Application.
-
-
Enter a Project name and optional Project description if Create Project was chosen.
You can use the Save as function to save a new copy of a project from the projects view screen or from the home screen. This is accessed by clicking on the three dots and selecting Save as.
Properties
The properties for a project are:
| Property | Description |
|---|---|
| Project name | Required. A unique name for a project. Project names must be in lowercase and between 1 and 26 characters in length. Alphanumeric characters and hyphens are allowed, however the name must begin with a letter and end alphanumerically, for example: project-4-a |
| Project description | Optional. A short description of what the project is for. |
Once a project has been created or uploaded into the Modeling Application, the following properties are displayed:
| Property | Description |
|---|---|
| Name | The name of the project as it appears in the Modeling Application. |
| Updated | The amount of time that has lapsed since the last update to the project. |
| Created | Displays how long ago the project was created. |
| Created By | Displays which user created the project. |
| Version | Displays the current version of the project. |
| Collaborators | Displays an icon for each of the collaborators that are collaborating on a project, for more see Collaborators. |
| Options | A list of actions that can be made against the project:
|
| Star icon | Use the icon to select which projects you want to add to the Favorite projects view. |
Collaborators
By default users can only view the projects they have created. The Collaborators option allows user access to be managed for individual projects. A collaborator can do anything the creator can do except for deleting the project.
To add a collaborator to a project:
- Select the Collaborators option against a project.
- Search for the user to add as a collaborator and click Add.
Release a project
Projects are version controlled through the release action. When a project is first created its version will be set to 0 and will increment by 1 every time it is released.
Note: A project must have been released in order to deploy it. Version 0 of a project can’t be deployed.
To release a project:
- Save any changes to the project components.
- Navigate to the project list page of the Modeling Application.
- Select the Release action from the Options column for the project.
Selecting the View Releases option for a project displays the version history for the project.
You can restore your project to a previous release by selecting the three dots to the right of the release you want to restore, and then selecting Restore this Release.
Validate a project
Validation is run when any model within a project is saved. The Validate option is available to all model types and can be run on demand using the tick in the top toolbar. Project level validation will be run against all models in the project.
Any validation errors in a model will be displayed in the log at the bottom of the screen. Expand the log by clicking on the bottom tool bar to view log details.
Folder structure
When you download a project, the extracted zip file will contain a folder for each model type within the project.
The following is an example of an exploded zip file of a project called holiday:
/holiday/
    /connectors/
        emailConnector.json
    /decision-tables/
        auto-approve-extensions.json
        auto-approve.xml
    /files/
        approval-policy.bin
        approval-policy-extensions.json
    /forms/
        approval-form.json
    /processes/
        approve-extensions.json
        approve.bpmn.xml
        request-extensions.json
        request.bpmn20.xml
    /scripts/
        update-calendar.bin
        update-calendar-extensions.json
    /triggers/
        approval-email.json
    /ui/
        process.json
    /content-models/
        holiday-model.xml
        holiday-model-extensions.json
    holiday.json
Files
File definitions are created and stored for each model in a project:
<connector-name>.jsonis the format that connector definitions are stored in.<decision-table-name>.xmlis the format that decision table definitions are stored in.<decision-table-name>-extensions.jsonis the format that decision table UIDs are stored in.<file-name>.binis the binary format that uploaded files are stored as.<file-name>-extensions.jsonis the format that stores the metadata for the associated uploaded file.<form-name>.jsonis the format that form definitions are stored in.<process-definition-name>.bpmn20.xmlis the format that process definitions are stored in.<process-definition-name>-extensions.jsonis the format that stores the properties for BPMN elements that are outside the scope of the BPMN standard.<script-name>.binis the binary format that scripts are stored as.<script-name>-extensions.jsonis the format that stores the metadata and variables for a script.<trigger-name>.jsonis the format that triggers are stored in.<ui-name>.jsonis the format that UI definitions are stored in for content or process.<content-model-name>.xmlis the format the content model is stored in.<content-model>-extensions.jsonis the format that stores the content model metadata.<project-name>.jsonis the project manifest that stores the name and version of a project.
Example projects
To help you get started example projects for Audio and Video Transcription, Personal Identifiable Information Detection, and Invoice Review process are provided. Once you access the example projects you can make copies of them and save them as your own. Once saved, they can be reconfigured for your own purposes, including deploying your own applications that are based on them.
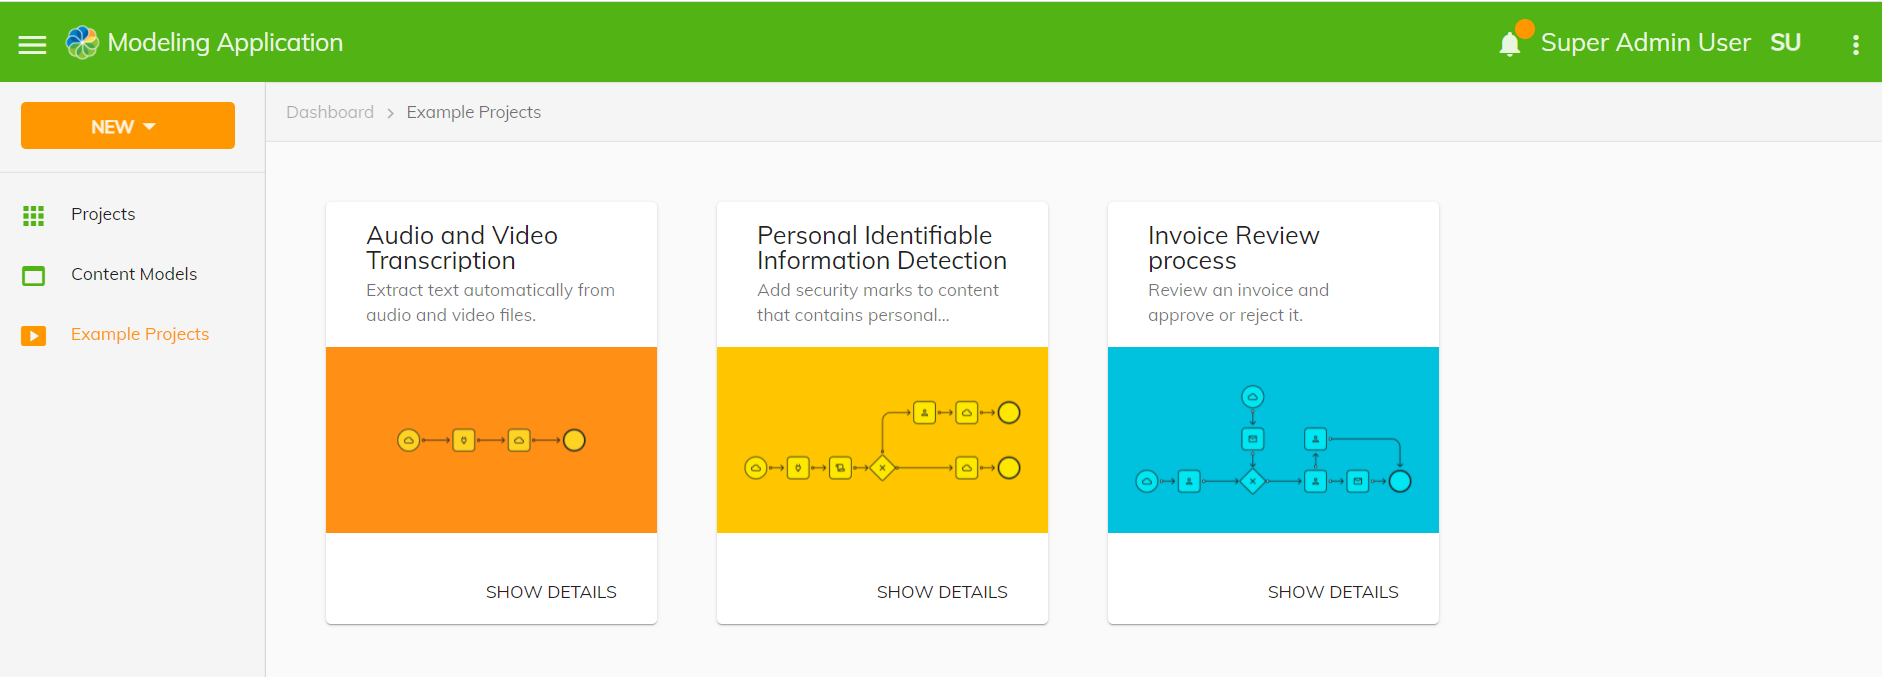
Access example projects
To access an example project:
-
Sign into the Modeling Application.
-
Click Example Projects from the left pane.
-
Select the example project you want to work with.
-
Click Duplicate and open.
-
Enter an appropriate name and click Duplicate.

Search Projects
You can search for any of the components that make up your projects. Use the Magnifying icon on the top left above the Project tree to search for components. In the image you can see all the components of the project that have ‘company’ in their name.
